When you buy a new model, do you ignore those little plastic bags of extra detailing parts that you are invited to fit yourself or – with the help of the right tools, of course – happily take on the challenge?
Using an excellent Dapol 7mm (O-gauge) van as a guide, Martin R Wicks shows how to make a ready-to-roll (RTR) item into something really special.
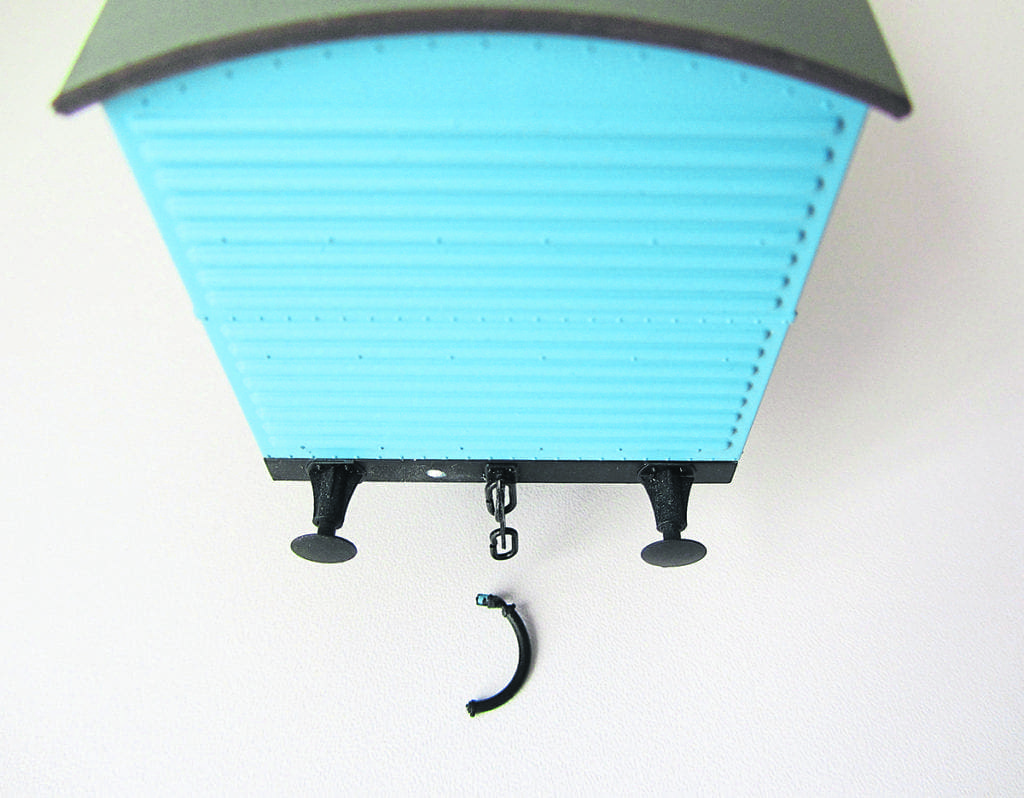
Modern RTR stock, in the three main scales and gauges, has come on in leaps and bounds in recent years, and is often highly detailed straight from the box. However there is always room for improvement, and a little light detailing and weathering can add even higher levels of realism and finesse as well as lots of satisfaction for the modeller.
From the history of steam through to 21st century rail transport news, we have titles that cater for all rail enthusiasts. Covering diesels, modelling, steam and modern railways, check out our range of magazines and fantastic subscription offers.
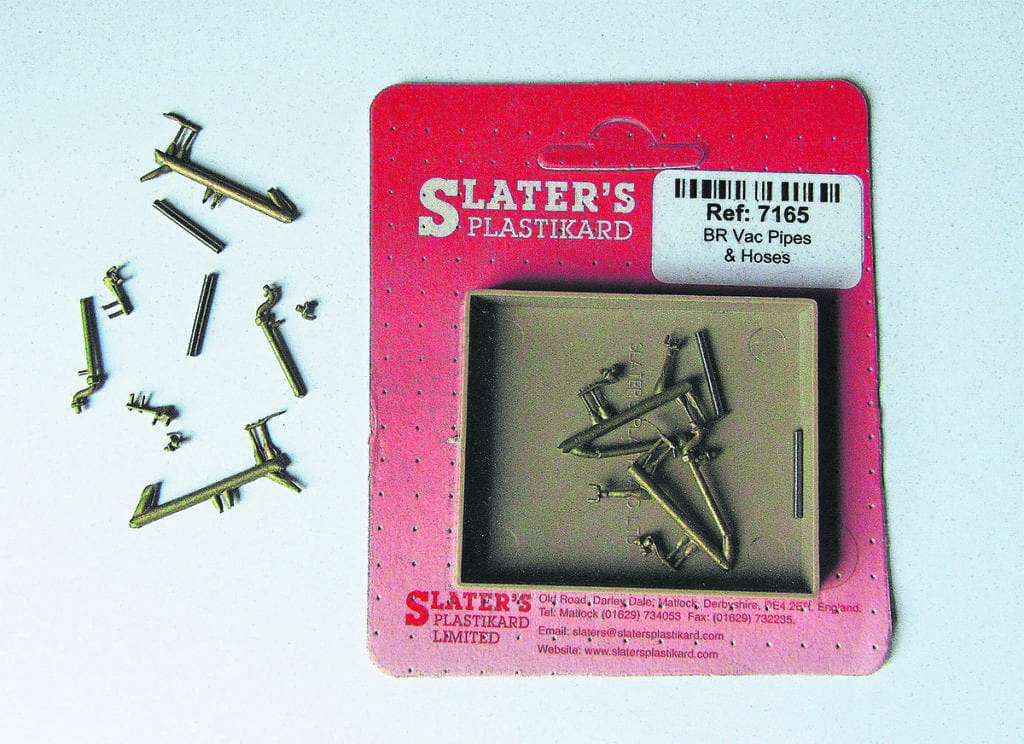
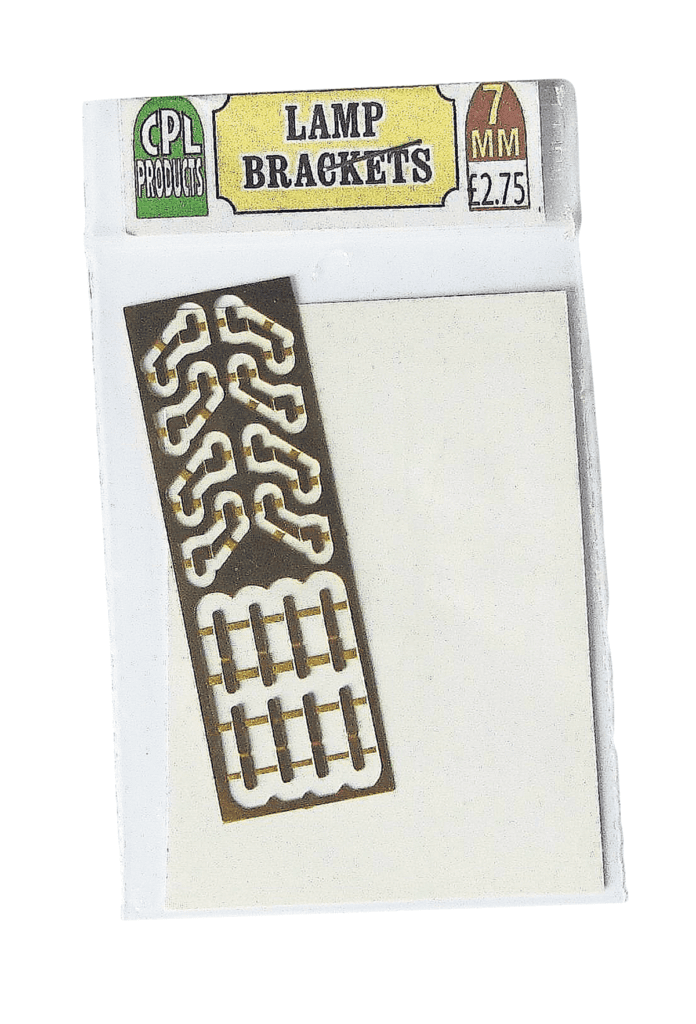
The hobby is, after all, creative and therapeutic in nature – and whether we are adding items of refinement such as pipes, lantern brackets, headcode parts and so on, or simply wish to add extra detail, perhaps using components made by cottage industry suppliers, the basic tools, methods and principles are the same.
While continuous improvement and ultra-fine levels of detail can be applauded, I for one build and detail ‘layout’ rather than ‘museum-quality’ models – dream on, Martin! – and as these must run as well as they look, certain details have to be left out. I endeavour to make my models look as realistic as possible, though, by applying the most appropriate details and applying techniques such as ‘false shading’ and other methods. A little planning and knowledge of the prototype will go a long way.
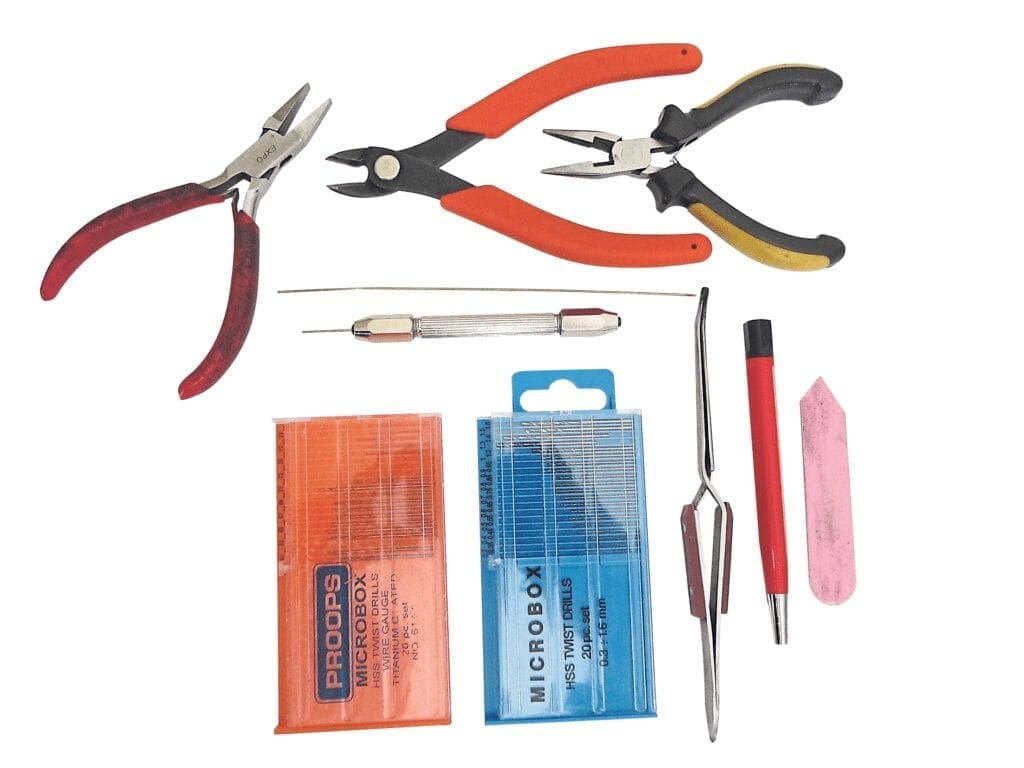
A wise man once told me: “Sense isn’t always common” – and how right he was! After more than 40 years of modelling I still make mistakes and wander off the path at times. I should be more methodical and always endeavour to be, but sometimes model-making becomes more spontaneous than one would like, perhaps because of time constraints.
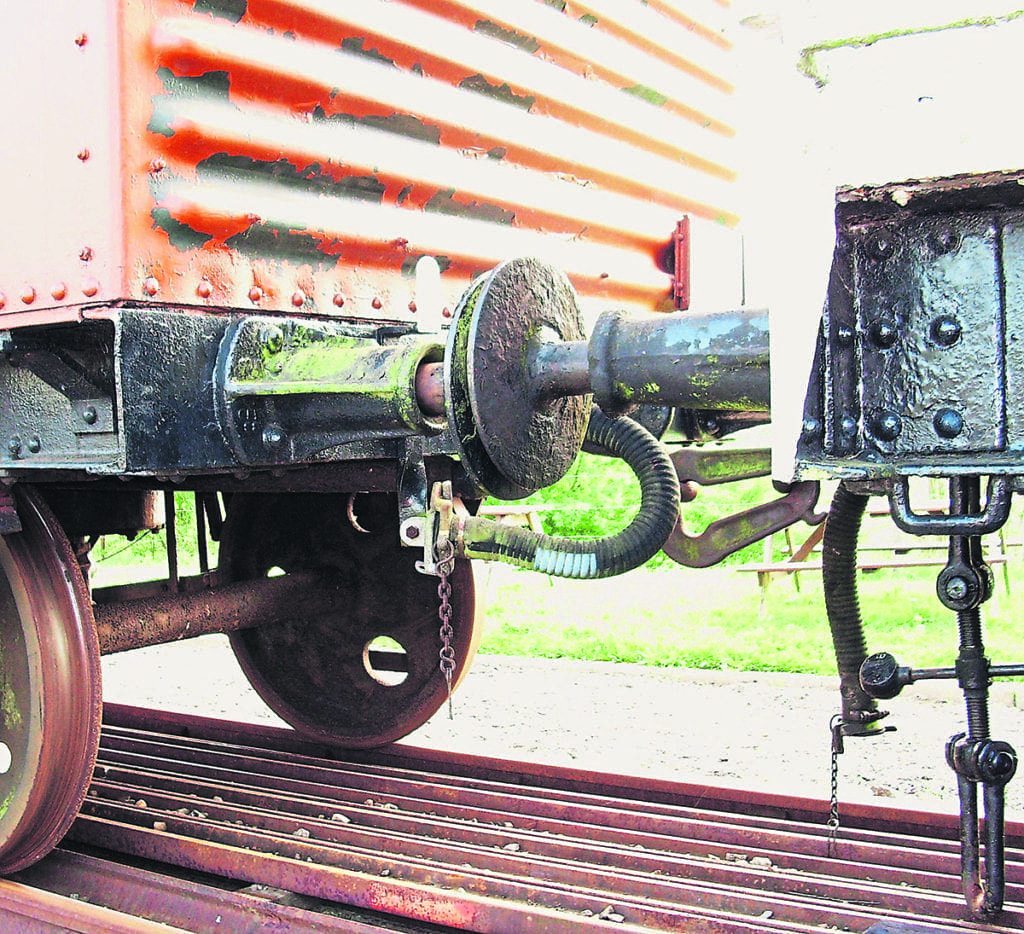
Experience does, however, teach one how to approach model detailing. First, obtain as many photos as possible of the model you are about to detail and weather. Detailed black and white images will show the placement of components and other details, while colour ones will show how prototypes have been painted and how wind, rain, dirt etc. have played their part in the overall patina.
Such images may be found in the second-hand books and magazines that come up for sale at reasonable prices at many toy and train swap meets, and if you’re lucky there might be a local library (use them or lose them!) to visit.
Drawings are often merely a ‘statement of intent’ of what the designer intended a locomotive or rolling stock item to be, so might not be accurate for an ‘in service’ vehicle. Many designs were modified during production, out in the field or while being overhauled, especially long-lived ones, so take into account your modelling era if you want your items to be as accurate as possible.
Even now, after building, detailing, numbering, painting and weathering a model after hours, days or months of research, another photo comes to light and shows a missed or incorrectly applied detail that no previous image had highlighted. Such is life! If the detail can be changed easily, go ahead and change it, but if not (and if you can live with it) just enjoy the model as it is.
Whatever your current skills and abilities, these will improve as time goes on, so don’t be afraid of giving it a try, or letting such fear lead to procrastination — but be careful not to ruin a model either.
This particular feature assumes that the model being detailed is made from injection-moulded plastic. Such materials as brass, white metal and pewter are also used in model-making, especially in high-end RTR or kit builds, and while some of the methods described here can also be used with these models, soldering will have to wait until another time.
While there are many types of adhesives, and some have multiple uses, some basic rules of thumb apply to super-detailing, and for such projects as this I use solvent weld and Cyanoacrylate (Cyano), also commonly known as superglue.
Solvents ‘weld’ plastic pieces, the substrate, to each other by ‘dissolving’ a little of each piece of plastic and welding the two surfaces together to make a strong joint that will not suffer from glue ageing or ‘glue rot’. I tend to use gentler types that will solvent-weld ABS as well as injection-moulded plastics yet have a low VOC rating and are not too aggressive, and also even more gentle and slower organic forms of solvent made from citrus fruit extracts.
Most solvents will damage painted surfaces if used heavily (keep them away from plastic-coated work tops as well) but repairs and additions can be made around painted areas of a model with care when using the milder forms. I even use solvent to ‘attack’ painted surfaces and represent peeling paint!
Beware of VOC fumes and spillage when using solvents. I usually strap bits of wood to my solvent weld bottles to avoid them being knocked over, but better still, one could buy a proprietary bottle holder.
Cyanos come in many guises and a wide price range, and come in several viscosities. They also appear to have a limited shelf life after opening. I tend to have in stock foam-safe, low-odour types in thin and medium viscosities that are less likely to cause harm to the model or me!
They seem to affix everything I need them to. The thin type can be used in conjunction with a piece of wire and capillary action to get at (or wick into) awkward places, while I use the medium-viscosity stuff to affix larger items or those that need a more robust joint. I leave the thicker variety for my SM32 model-making.
All types are fairly quick-setting, and will bond skin, so don’t get them on to your hands and fingers! De-bonder is available, but for model-making rather than skin as far as I can tell. If you do bond your skin stay calm, because with prompt action soap and warm water can be used to remove it. Dried-on Cyano can be removed gently from the skin with warm water, soap and a pumice stone, but badly bonded areas might require medical advice or treatment – so always use with great care. It certainly isn’t an adhesive for the young modeller unless under strict adult supervision.
Another kind of Cyano I use is a high-quality resin type that will stick almost any substrate to another, and is activated by pushing air/oxygen out of the joint. In theory, if it spills on to fingers, as long as you don’t press them together and keep them moving, they shouldn’t stick together, but in my experience, when you want Cyano to stick quickly it doesn’t, and yet when you need time to readjust an item, it sets straight away – or does that just happen to me?
Both types of Cyano can be cured more quickly by using an activator, and with some of the cheaper types water, lightly applied through a spritzer, might improve setting times as long as the Cyano isn’t diluted too much.
Weathering
Apart from the accompanying text, photos and captions, lots of simple detailing projects can be achieved easily using basic self-taught skills. In a future article I’d like to tell how to go about weathering such models to make them look like prototypical ‘in traffic’ goods vehicles.

